

Hello Hackers! In this post, we will learn about a very amazing tool which is “Gobuster”. It is a command-line website scanning tool written in Go language.
It is used for discovering hidden subdomains, directories & virtual hosts. Performance-Wise GO Language is a very good programming language that makes this tool faster than other tools written in other languages.
Why we should use Gobuster in Penetration Testing?
It’s a very important step to enumerate hidden subdomains and directories before attacking a web application.
So that we can find the hidden Subdomains and Directories of that web application, by which we may find a vulnerable point which we can exploit that easily.
There are lots of other tools as well like Dirbuster & DIRB which we can use for scanning subdomains and directories, but they can often be slow and give errors.
The main advantage of Gubuster over other directory scanning tools is Speed. It has also excellent support for concurrency so that Gobuster can take advantage of multiple threads for faster processing.
Gobuster has a simple command-line interface which works very fine. All in all, it’s an amazing and very effective tool that you should start using it.
We will be using it on our vulnerable application, DVWA (Damn Vulnerable Web Application), but you can use it similarly on live websites.
How to install Gobuster in Windows 10?
The easiest way to install Gobuster in Windows 10 is by using it in WSL 2 (Windows Subsystem for Linux).
Windows Subsystem for Linux (WSL) is a compatibility layer for running Linux binary executables (in ELF format) natively on Windows 10 and Windows Server 2019.
Here is a very nice and short video tutorial by Networkchuck to set up Kali Linux on WSL 2 on your Windows 10 PC.
Once you’ve set up Kali Linux in WSL 2, then you can easily install Gobuster in it. Let’s see the Gobuster installation process in the next point.
How to install Gobuster in Kali Linux?
Kali Linux is one of the most favorite penetration testing Linux distribution in the infosec community. It is loaded with 350+ penetration testing tools but Gobuster is not on the list. So, we’ll have to install it manually. The installation process is very easy just follow these steps.
Installing Gobuster
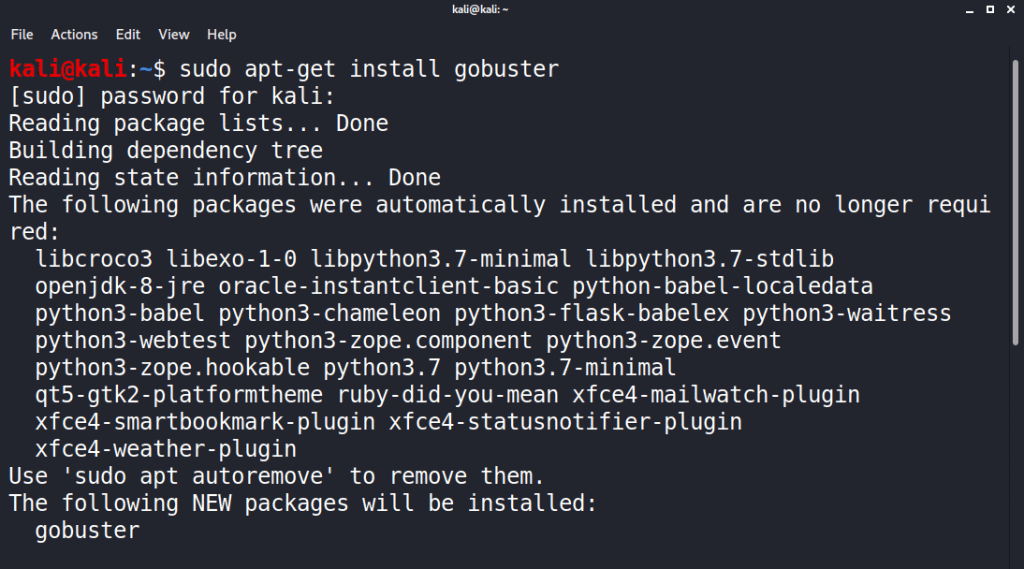
command: sudo apt-get install Gobuster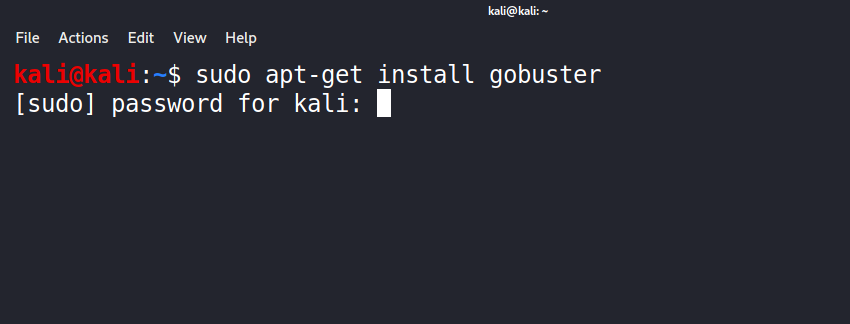
- Enter the password, if you are not a superuser.
- The installation process will begin & it will be installed quickly.
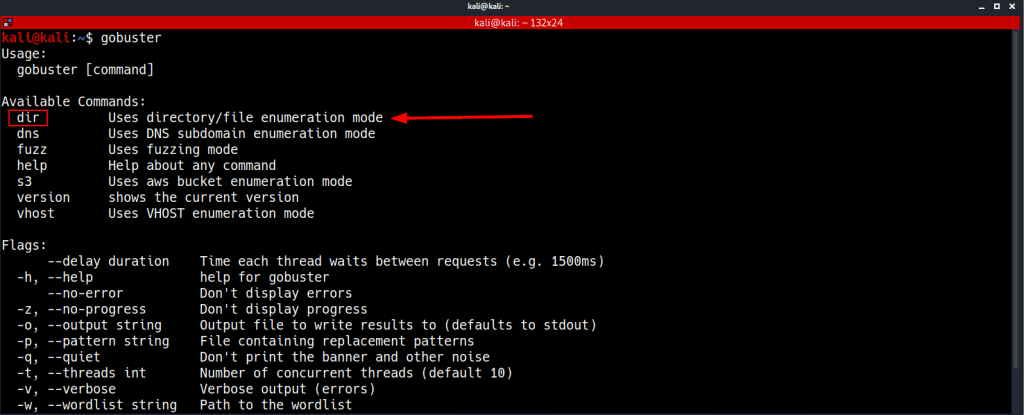
After successfully installing Gobuster, we can run “gobuster help” command to see its help menu.
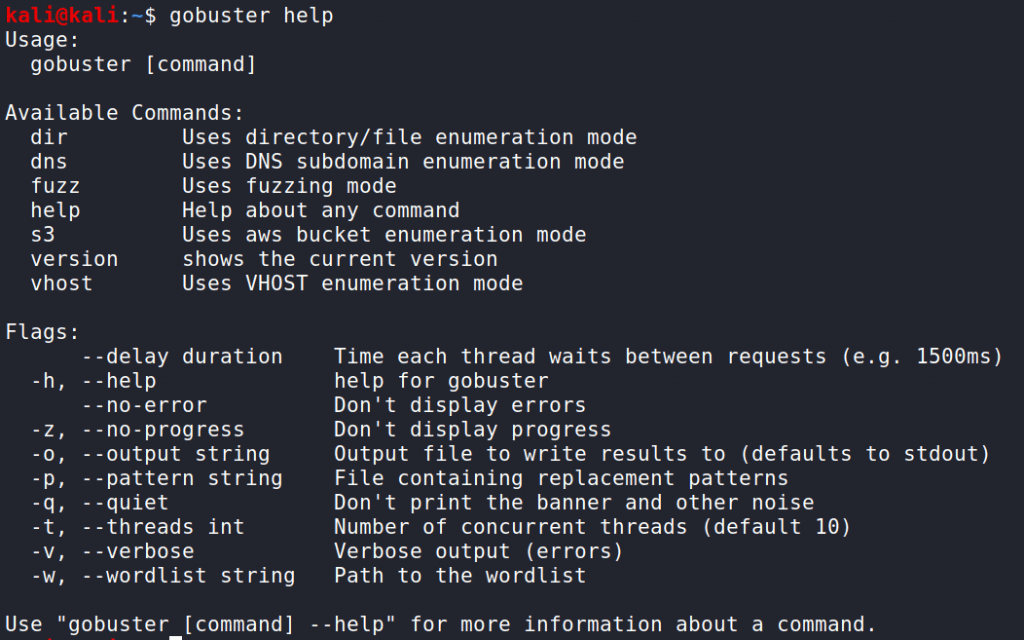
As you can see in the screenshot it has five modes which we can use as per our need.
- DIR – The classiC directory brute-forcing mode
- DNS – DNS subdomain brute-forcing mode
- FUZZ – Fuzzing mode
- S3 – AWS bucket enumeration mode
- VHOST– Virtual host brute-forcing mode
I’ve told you before that this tool is mostly used for subdomain and directory brute-forcing. So, we will stick to the “DIR mode” & “DNS mode”. Now let’s explore a bit in more detail how we can use this.
Download Wordlists for Gobuster
Gobuster needs a good wordlist for brute-forcing. Although in Kali Linux we have some word lists located in /usr/share/wordlist directory.

We can use the wordlist of dirb and dirbuster but there is another very good wordlist that I like to use for directory brute-forcing. You can find the whole repository of useful wordlist on Github which is SecLists.
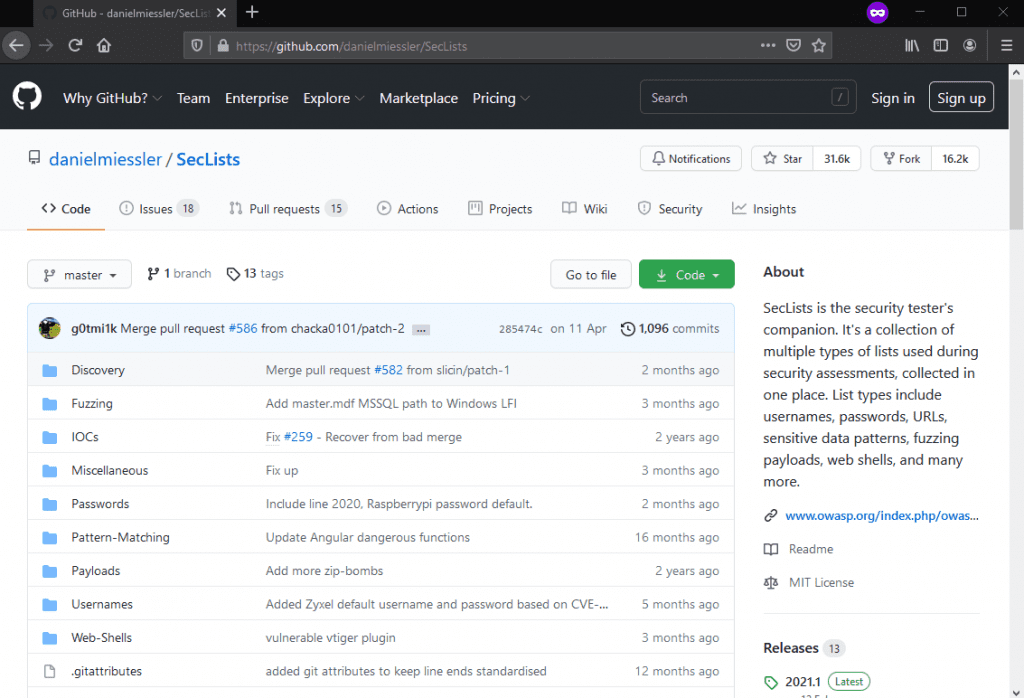
About SecLists
SecLists is the security tester’s companion. It’s a collection of multiple types of lists used during security assessments, collected in one place. List types include usernames, passwords, URLs, sensitive data patterns, fuzzing payloads, web shells, and many more. The goal is to enable a security tester to pull this repository onto a new testing box and have access to every type of list that may be needed.
We can download the whole SecLists repository using the package manager. Using this command:
command: apt-get install seclists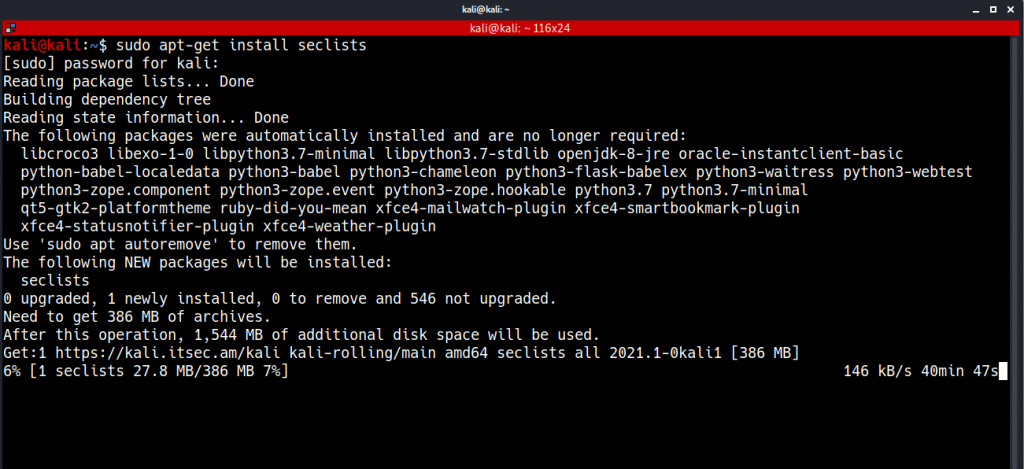
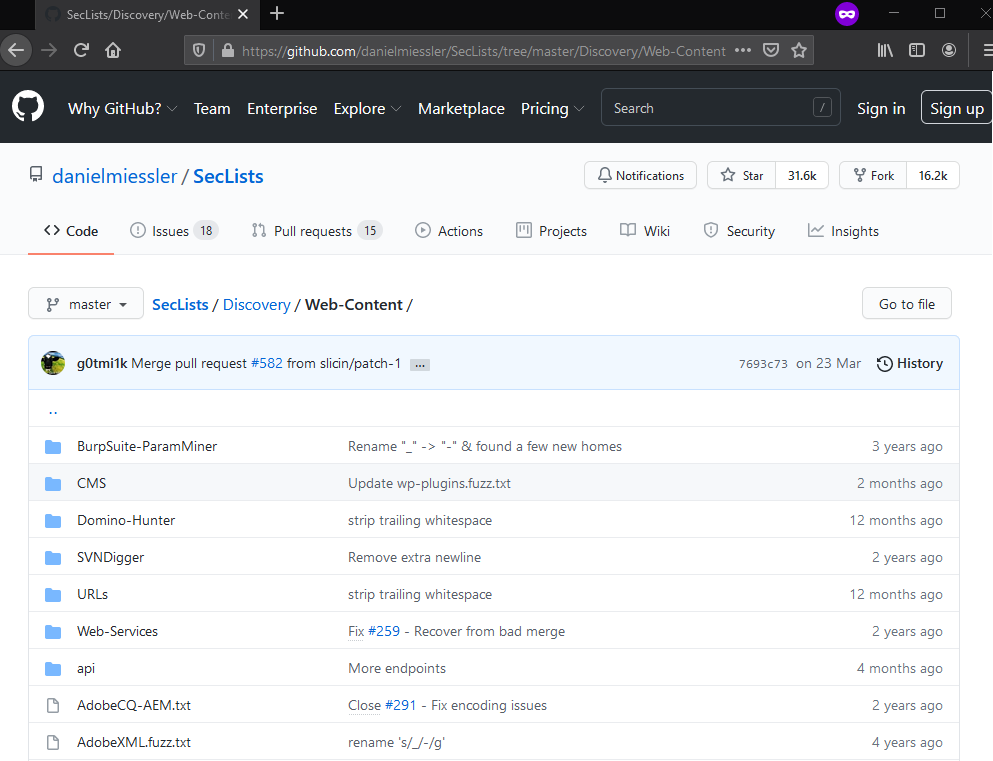
If you don’t want to download the whole repository of seclists then you can download the raw file of the selected wordlist using wget utility.
In our case, we want to find the hidden directories of our target then we can navigate to Seclists/Discovery/Web-Content/
Here we can download “common.txt” wordlist file which contains more than 4000 common web directories name.
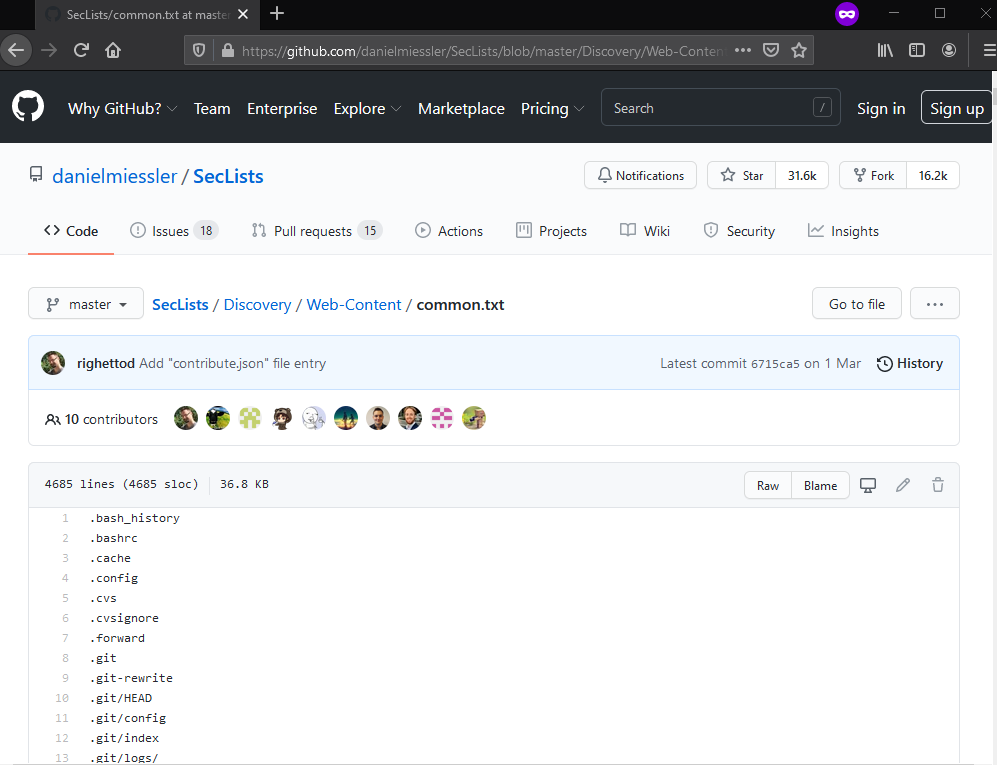
Before downloading the wordlist first change your directory where you want to save your worldlist. We will download it in our wordlist folder.
We can type this command in terminal:
command: sudo wget https://raw.githubusercontent.com/danielmiessler/SecLists/master/Discovery/Web-Content/common.txt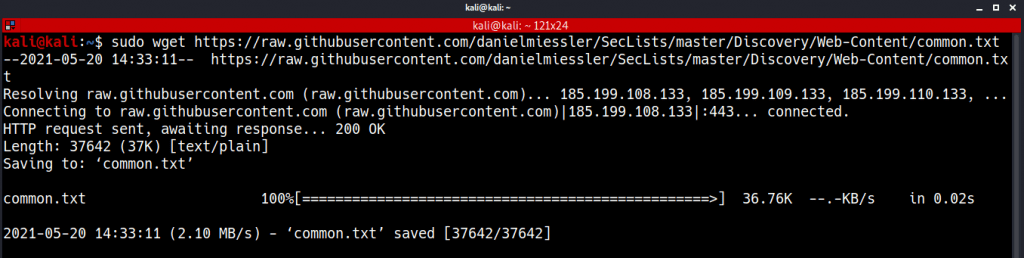
After downloading common.txt we can now use it with Gobuster for brute-forcing directories. Let’s see how we can do this.
DIR Mode For Scanning Directories
In Gobuster, if we want to brute-force any website we have to choose the DIR Mode from Gobuster’s command menu.
We can see the help menu of DIR mode using this command:
command: gobuster dir –help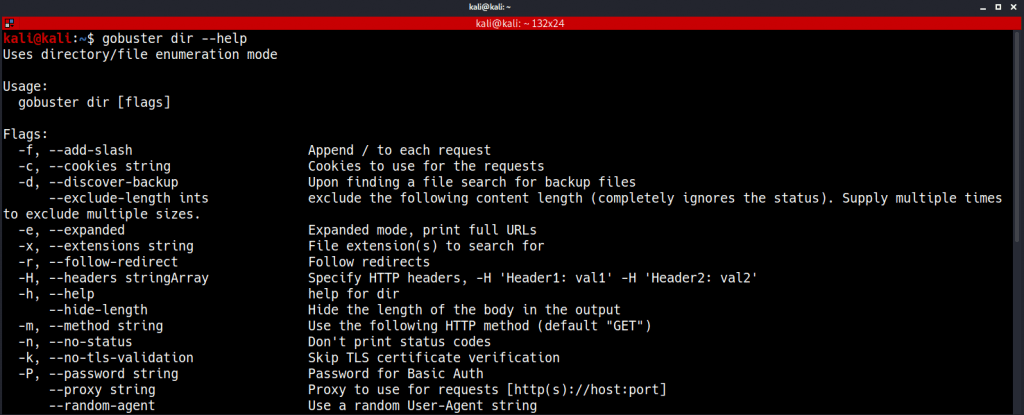
Scanning Directories and Files
Now we are ready to use Gobuster. Let’s run it against our target (DVWA) using it’s default parameters.
command: gobuster dir -u targetsite.com -w /path/wordlist.txtFlags:
- -u : To specify our target
- -w : to Add the wordlist
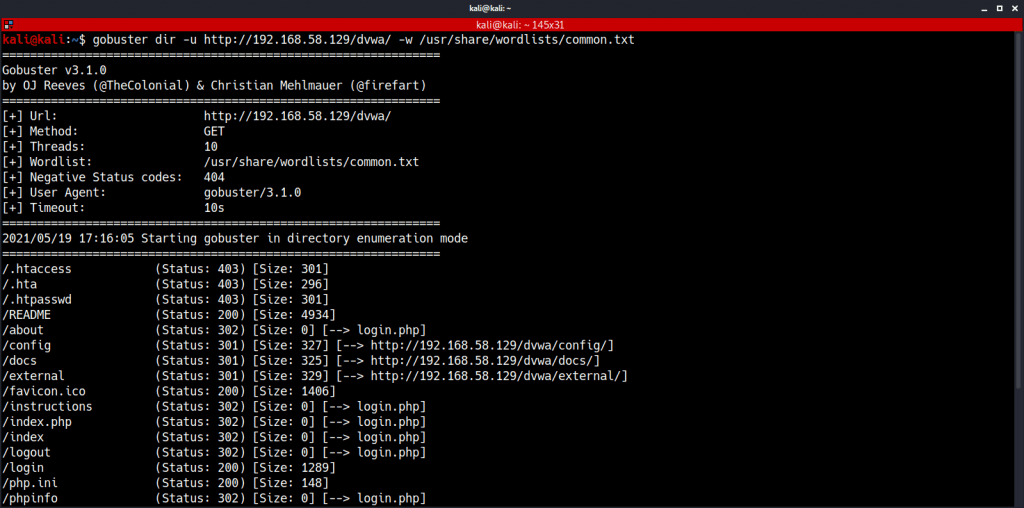
Here we can see that it has given us some directories and file names with their status code and file size.
You can simply add the directories name at the end of the URL and start looking for possible vulnerabilities in that page.
Now, let’s see how we can discover subdomains of our target using Gobuster.
DNS Mode For Scanning Subdomains
Gobuster can discover subdomains of the target website very efficiently, we will just have to use it’s DNS option.
To see the available option we need to type:
command: gobuster dns --help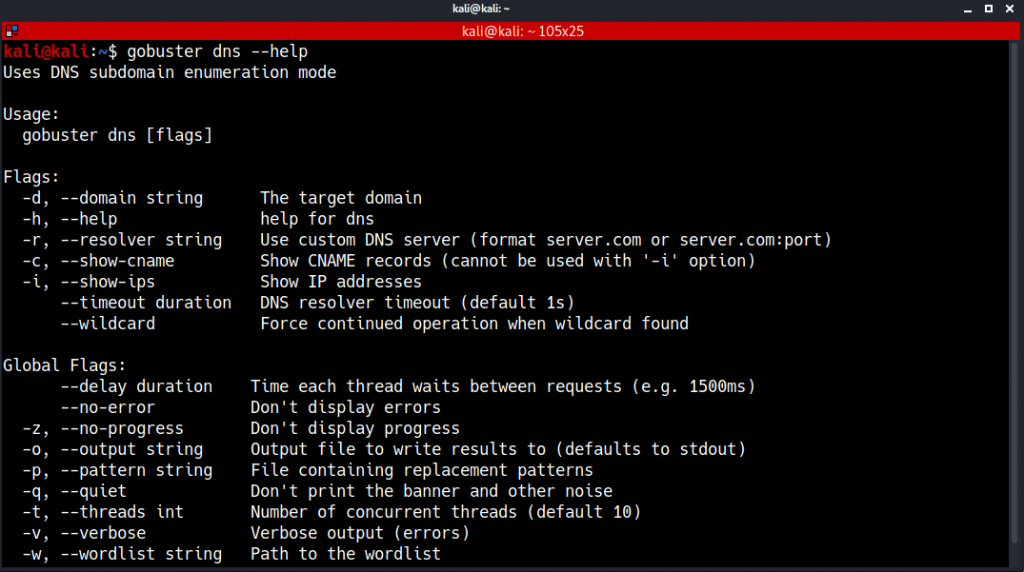
Now we can start our subdomain discovery process.
Here our target will be a live website which is “google.com” because google runs its own bug bounty program so there is no issue to run Gobuster on google.
Allright, we need to type this command in our terminal:
Command: gobuster dns -d google.com -w wordlist.txt Flags:
- -d : To specify our target (without HTTP/HTTPS)
- -w : To add a wordlist.
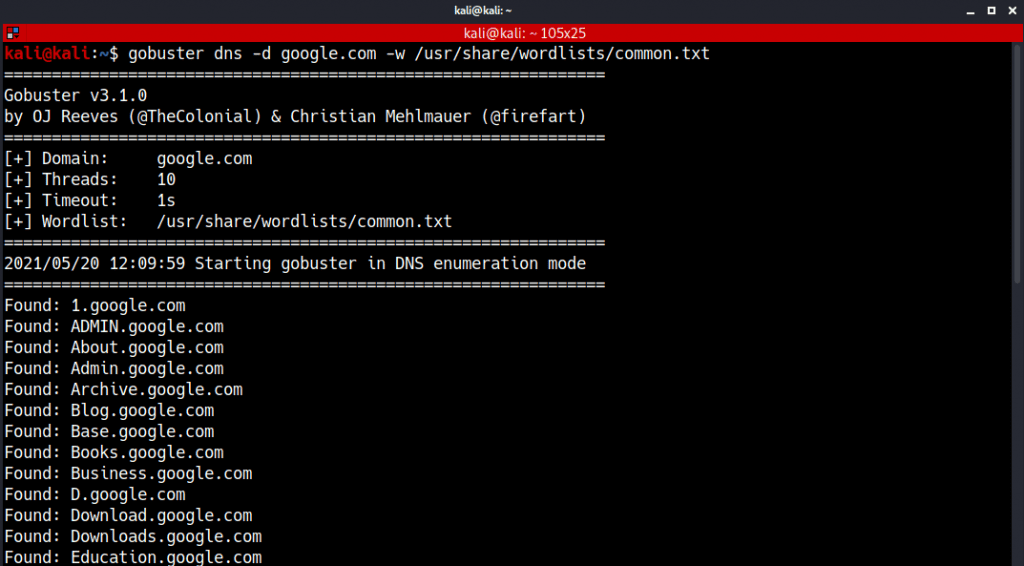
It may take some time depending upon the size of the wordlist. So, have some patience.
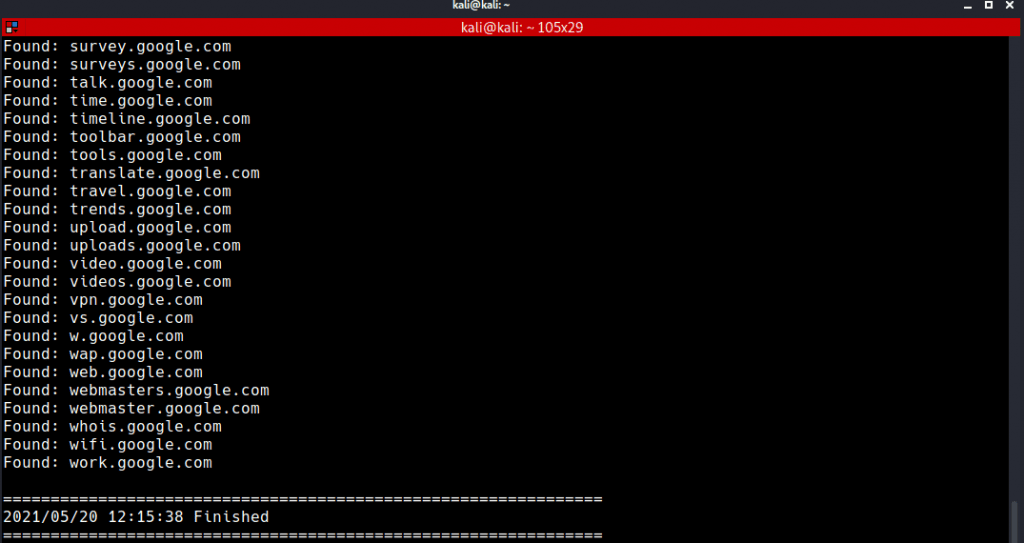
The list was so big for the screenshot but that doesn’t matter I hope you got the point.
After the scanning is complete, we can see we got lots of subdomains of google and we start looking for vulnerabilities on those domains.
Saving Results
Now, it might be possible that you want to save the output of the result for future use.
It’s very easy to do so, we just need to put -o flag at the end of our command like this:
command: gobuster dir -u target.com -w wordlist.txt -o path/filename.txt
We saved our result.txt on the desktop folder so we will navigate to the desktop and use the cat command to see the results, like this:
command: cat filename.txt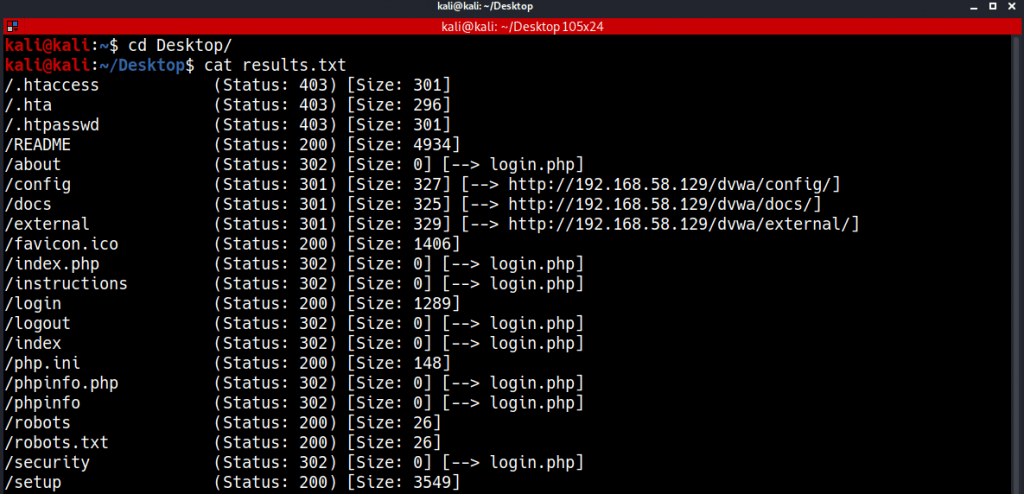
If you want to see a video tutorial about Gobuster then Cristi Vlad has created a very good short video, you can check that out here:
Conclusion
This was a brief guide on How to use Gobuster, a brute-force scanner written in Go programming language for scanning subdomains and directories of any website. In the beginning, we learned how to install Gobuster and downloaded a useful wordlist for brute-forcing. Next, we ran it on our target and discovered multiple directories and subdomains very easily.
It is a very fast and powerful subdomain and directory scanner. I recommend you to add this tool to your toolkit while you do Pentesting or Bug Bounties.
If you have any questions or suggestions tell me in the comments, I’ll be happy to help!
Also Read : OpenVAS vs Nessus – A Detailed Comparison
I'm an Ethical Hacker, Penetration Tester, Content Creator, Technology Lover, Passionate Learner & The Founder of Spinning Security. For Any Inquiry Contact Us Here :- contect.spinningtech@gmail.com
- How to Become a Professional Gambler - March 29, 2024
- X Premium Subscribers to Gain Access to Grok AI Chatbot: A Strategic Move by Elon Musk - March 28, 2024
- Google Introduces AI Travel Assistant for Seamless Vacation Planning - March 28, 2024